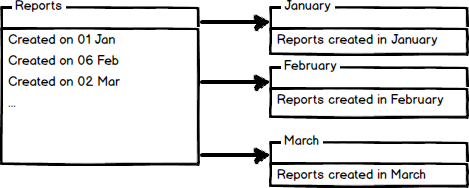
SQL Server 2008 introduced a table partitioning wizard in SQL Server Management Studio.
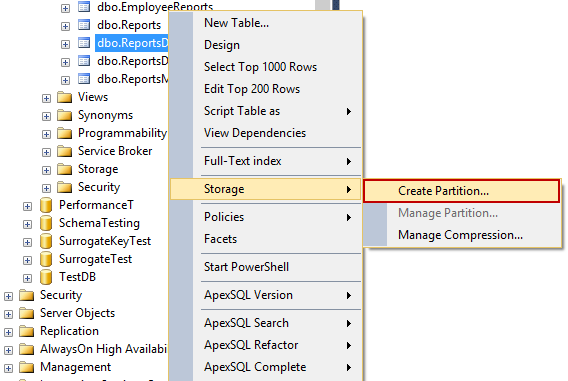
Right click on a table in the Object Explorer pane and in the Storage context menu choose the Create Partition command:
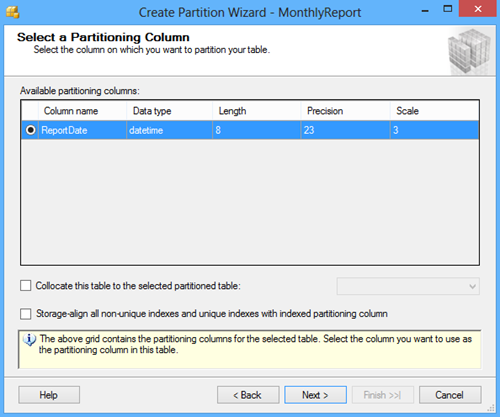
In the Select a Partitioning Column window, select a column which will be used to partition a table from available partitioning columns:
Other options in the Create Partition Wizard dialog include the Collocate this table to the selected partition table option used to display related data to join with the partitioned column and the Storage Align Non Unique Indexes and Unique Indexes with an Indexed Partition Column option that aligns all indexes of the partitioned table with the same partition scheme.
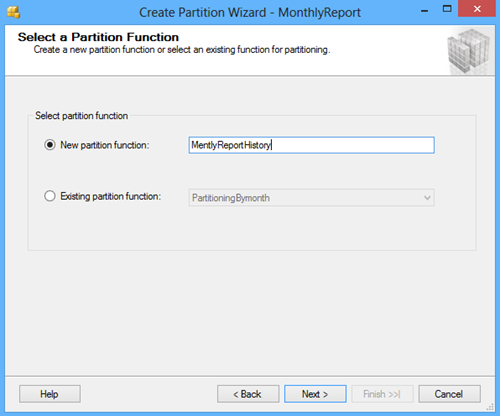
After selecting a column for partitioning click the Next button. In the Select a Partition Function
window enter the name of a partition function to map the rows of the
table or index into partitions based on the values of the ReportDate
column, or choose the existing partition function:
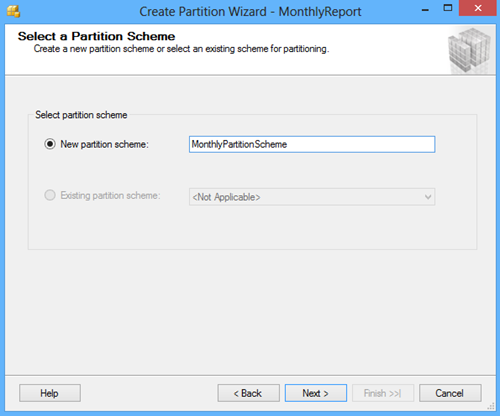
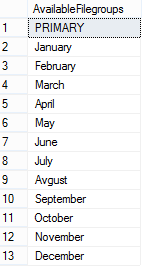
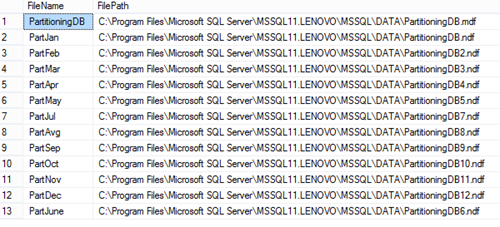
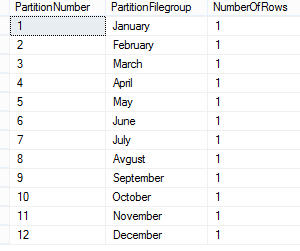
Click the Next button and in the Select a Partition Scheme window create the partition scheme to map the partitions of the MonthlyReport table to different filegroups:
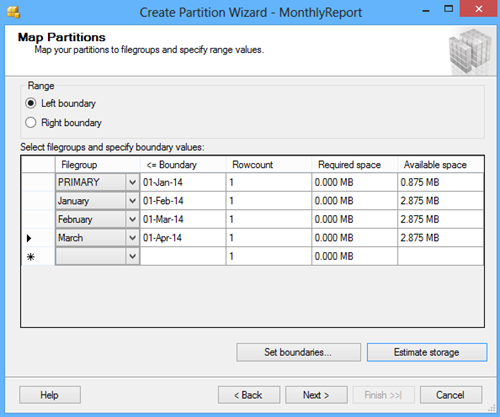
Click the Next button and in the Map Partitions window choose
the rage of partitioning and select the available filegroups and the
range boundary. The Left boundary is based on Value <= Boundary and
the Right boundary is based on Value < Boundary.
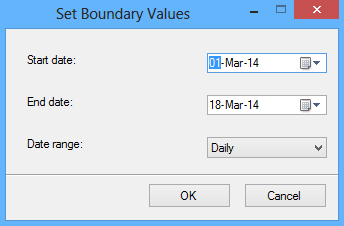
By clicking the Set boundaries button you can customize the date range and set the start and the end date for each partition:
The Estimate storage option determines the Rowcount, the
Required space, and the Available space columns that displays an
estimate on required space and available space based on number of
records in the table.
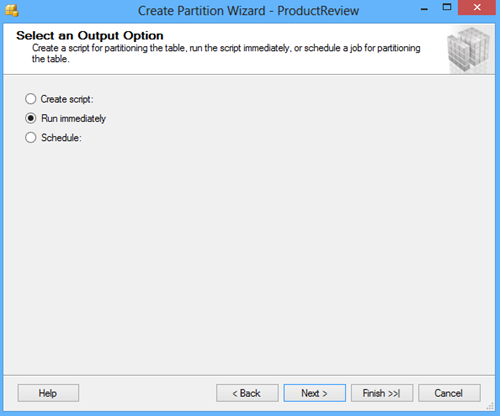
The next screen of the wizard offers to choose the option to whether
to execute the script immediately by the wizard to create objects and a
partition table, or to create a script and save it. A schedule for
executing the script to perform the operations automatically can also be
specified:
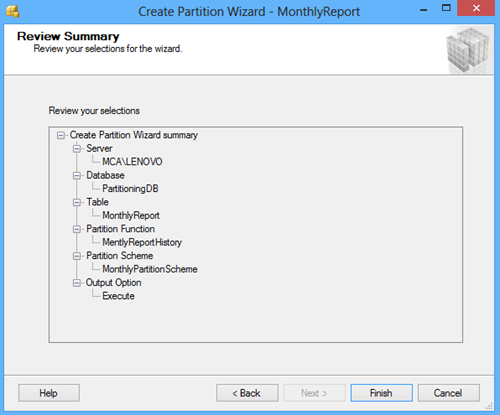
The next screen of the wizard shows a review of selections made in the wizard:
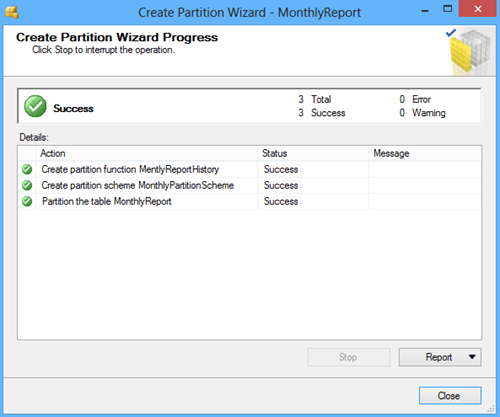
Click the Finish button to complete the process:
